


The Beauty of baking bread
If there’s one thing that almost everyone eats, every day, it has to be bread. This universal food can be found in every country, every culture, and has been a staple of the human diet for thousands of years. Brown, white, whole wheat, whole grain, multigrain, rye, sourdough… Bread comes in countless varieties and all shapes and sizes, and everyone has an opinion about it. Ask anyone what their favorite kind of bread is, and they’ll answer without a second thought! In fact, without even realizing it, bread is probably something you feel quite strongly about… And it’s not just the taste. It’s also the aroma. Is there anyone who doesn’t love the smell of freshly baked bread?
Perhaps it’s because bread is such an everyday item that we tend to take it for granted. But we shouldn’t. After all, it isn’t something that everyone knows how to make. It’s not something you can whip up in five minutes. And it does require a certain amount of skill to make it well. Go to any town or village in France, and the one shop you’re most likely to find is a boulangerie. The French know that if you want really good, really tasty bread, then a mass-produced loaf doesn’t cut it! But that’s not to say that you can’t make your own delicious creations. It just takes a little time, a little patience, and a little passion. Like all good things! ?
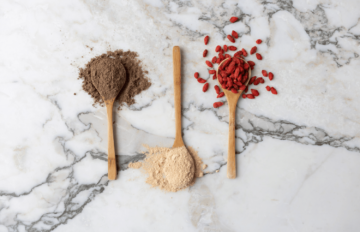
When you make bread, you’re repeating techniques that people have used for millennia, and which have changed very little, despite the advent of new technologies and materials. The ingredients remain very much the same: the basics are flour, water, salt, and yeast. And you have to wonder: who discovered yeast? Who invented flour? Who had the idea of combining these ingredients to make this age-old staple? It’s believed that the earliest bread dates back to around 8000 BC in the Middle East, and spread from there to other continents, but this article is meant to be about pleasure, and not a history lesson, so we’ll leave that there… ?
There’s a kind of magic to making bread, and it’s definitely worth putting aside an hour or two of your time to get lost in the experience. As we’ve already mentioned, very few ingredients are required, and they’re all very plain and simple, yet the alchemy between them yields something that tastes delicious and smells amazing. So, what exactly makes making bread so magical, so beautiful?
Take this simple bread recipe (we’ll give you the details at the end) and enjoy a little magic in every step…
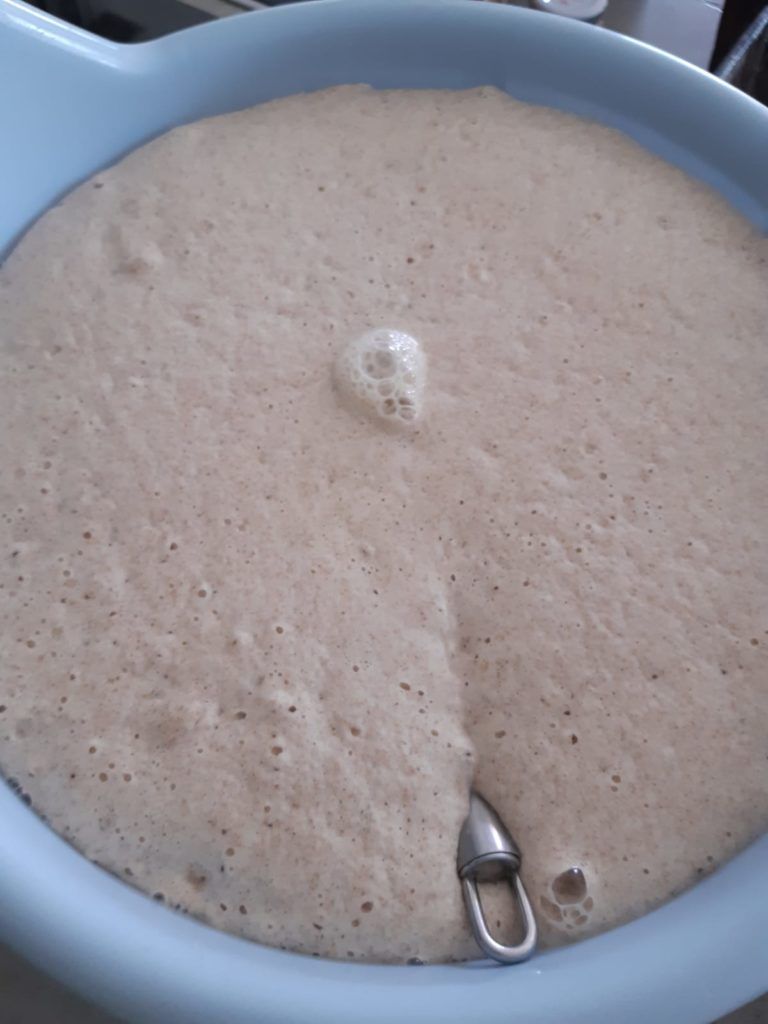
When you add sugar and warm water to yeast, the yeast feeds on the sugar and produces carbon dioxide gas. Bubbles form before your eyes, and the mixture doubles, then triples, then quadruples in volume within minutes! The magic has begun…
Add more water, then flour, mix gently, and leave in a warm place free of drafts. Gradually, your dough will rise and little bubbles form. It’s slower this time, but just as magical. The dough is alive; it’s as if it were breathing and growing, getting ready for the next stage in its life.
Once your dough has risen enough, it’s time for your hands to work some magic. Add your salt and enough flour to get a thick but pliable consistency, then you can start to knead. Feel free to be creative at this point, and mix some seeds, nuts, etc. into your dough. Walnuts, sunflower seeds, poppy seeds, sesame seeds… They all work well. Just use your imagination!
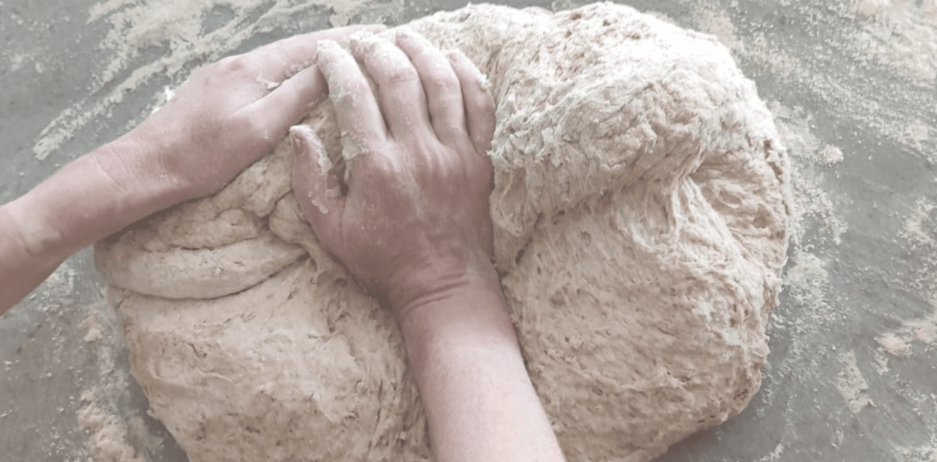
There’s something very therapeutic about kneading bread. There’s a rhythm to it that’s relaxing; a repetition that’s soothing, not boring. And you’re working your muscles too. It’s almost as if you’re massaging the bread, while reaping the benefits of the massage yourself. Don’t be afraid to be a little rough! You create surface tension while releasing tension. You give your arms, shoulders and back a really good workout! It’s excellent for relieving stress as you focus your mind and forget about your worries. So it’s good for you both physically and mentally.
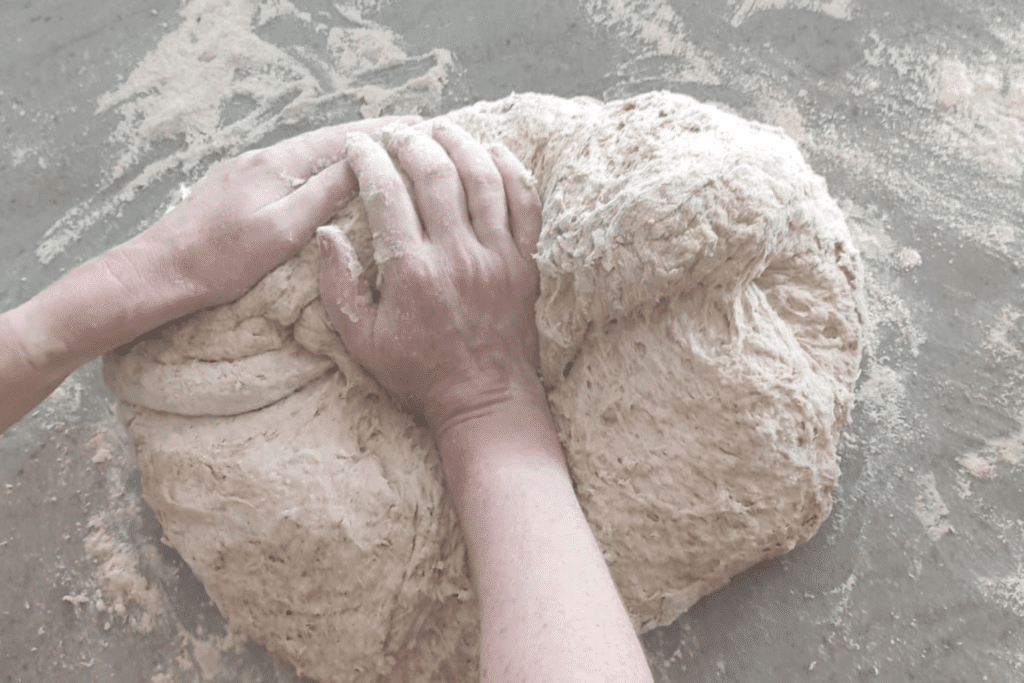
At this stage in the process, another transformation takes place. What started as a rough, sticky, shaggy-looking mixture has gradually become smooth, elastic, and not sticky at all. And it’s all down to your hands! Now you can shape your dough into loaves and let them rise one last time before placing them in the oven. You could even personalize a loaf by etching a letter, pattern, or short name into the top very gently with the point of a knife. Perfect if you want to gift a loaf of bread to someone you know!
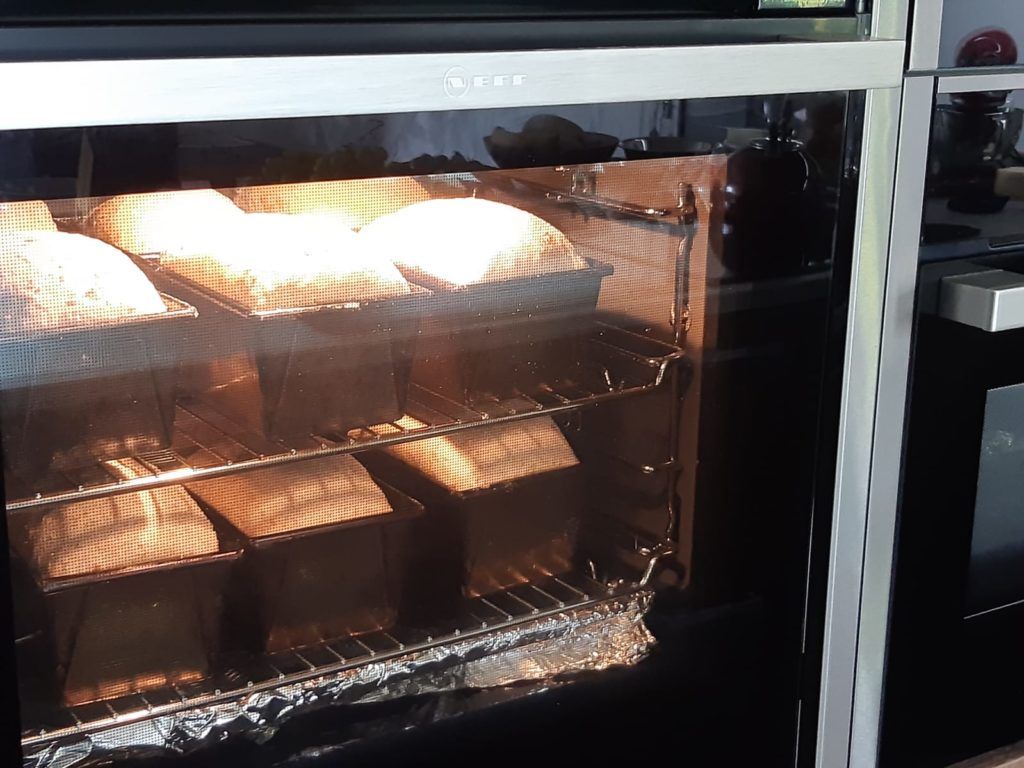
All that’s left to do is bake… and eat. Crisp on the outside, moist on the inside, still warm, still smelling so absolutely, enticingly, amazingly good. Take a tip from the French and enjoy a few slices of your fresh bread with a little cheese and a glass of wine. Simple pleasures. Simply delicious.
Wholemeal Bread Recipe
Ingredients (for 10 small loaves, you can adapt quantities)
- 4 pints lukewarm water (2.25 litres)
- 4 oz fresh yeast (or dried equivalent)
- 2 level tablespoons salt
- Flour (approx 3 kilos)
- Sugar (approx 2 or 3 teaspoons)
Place yeast and sugar in jug. Add approximately half a pint of lukewarm water and stir to dissolve yeast. Leave for a few minutes to make sure yeast is working (frothing).
Place contents in a large bowl and add remainder of water to make up to four pints. Add enough flour to give a thick creamy consistency. Put bowl in a warm place and leave to bubble up to about twice the original volume (at least fifteen minutes).
Once it has reached such a volume, stir in salt. Keep adding flour until dough is thick enough to be able to turn it out onto the work surface for kneading.
Flour the work surface before turning dough out onto it. Knead the dough as a whole until smooth, adding more flour if necessary. Divide mixture into ten pieces. Knead each piece individually and place in bread tin. Shape to fit.
Put all tins into a warm place to rise. Once dough has reached top of tin, place in pre-heated oven (gas mark 7 – about 220°C).
Bake for approximately 35 minutes. To test if ready, tip loaf out of tin and tap base with knuckle. If it sounds hollow, it’s ready. If cooking appears uneven, move tins around in the oven halfway through cooking (but no earlier than after twenty minutes).